Here's my June post for the Cricut FANatics blog.....which is also my last posting.
Hey there, it's Freda from CannCreate Designs back with a little Christmas Holiday Cheer for you. I try to have a Christmas in July party at my house every year where I get together with some of the crafty members of my family and we make items that they can recreate at home and give as gifts. When I first started this we did it in late November/early December and they complained that they didn't have enough time to make the presents for Christmas so we moved it to July.
I've been scouring Pinterest for ideas, any possible craft was pinned into my "Christmas in July Ideas" board. I am writing this in April and I decided to make Snowmen gift boxes for each of the ladies. Each box will hold an ornament for their tree.

Okay, here goes....Today I am sharing a Snowman Giftbox using an SVG pattern I purchased from a company called My Scrap Chick . They sell patterns for most cutting machine software formats and even in PDF for printing and hand cutting. This Winter Patio Pavers pattern is their paper version of the patio paver blocks that people paint and make decorations out of. There is also a card file included that matches, maybe I'll get time to make cards too...

Fold side pieces on the score lines, also fold tabs towards inside.

Note the slight size difference in this picture of the top inside and outside pieces...

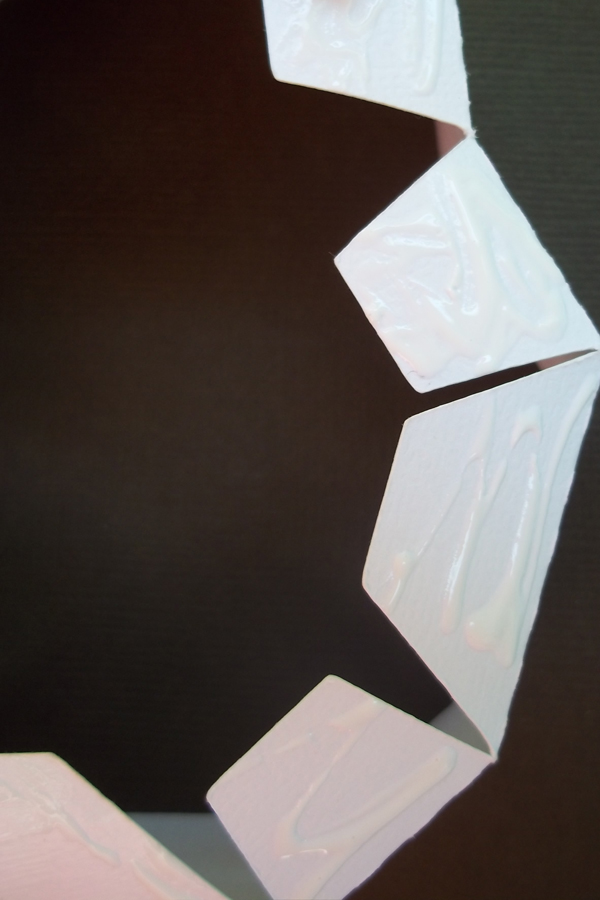
We will assemble the sides first...I prefer that the end pieces without tabs be towards the inside of the box so I put glue on the inside of the tabbed piece and placed the untabbed piece so that it would be inside...wish I had taken pictures of that step....anyways you should wind up with a shape like this (bend the piece where the head/body join out so this shape is formed), I don't think it matters too much which side the untabbed piece is placed...just personal choice.

Now, making sure that you have the top outside and inside pieces and the side pieces with the 1/2 circles cut in it...apply glue to 3-4 tabs as illustrated below....
Using the top outside piece (the largest piece)...align and glue the tabs that have adhesive on them. Hold each tab in place for a few seconds for the adhesive to set before attaching the next piece. Work your way around the "bottom" of the snowman before gluing the head area tabs down. You should have a piece like the one pictured below:

Now get one of the 2 same sized pieces, apply adhesive to the back of the piece (if you are using liquid glue do it sparingly and only around the outside edges to minimize waviness on your snowman top). Apply this piece to cover where the tabs are glued inside.


Assemble the box bottom in the same manner...using the remaining pieces. Your boxes should fit together like this:

Ink/Chalk in light blue or gray around the edges of the top of your box(the piece with the 1/2 circle cuts in it). I prefer to chalk the "cheek" spots instead of using the circle cuts in the pattern, and also used black mini round gems by Recollections for the eyes. Remember that you are going to be adding a ribbon to the area where the head/body join, so leave enough room below your "Cheeks" so the ribbon doesn't hide your facial features. Don't assemble your face and button pieces until after applying the ribbon. Ink/Chalk the edges of the buttons, nose and stars in brown. It's not pictured here, but I added little red "bling" dots to the stars-you can see them in the photo at the beginning of the post.

Next tie your ribbon around the neck area of the snowman, turn the snowman around and cut the ribbon in half on the back side. Apply adhesive to the back of the ends that you just cut. Center the knot on the front of the snowman and bring the adhesive sides around to the inside of the lid to hide the ends.


Now add your face and buttons to the top of the box, and you're good to go...I hope you enjoyed this little "Christmas Break."

Thanks for stopping by,
Freda
Designed by: Freda Cannon
Machine Used: Cricut Expression
Project Type: 3D Gift Box
Products Used: MTC Software; Winter Pavers file from My Scrap Chick; White cardstock with a few pieces from my stash; Assorted ribbon from my stash of swap items, Recollections Mini Round Gems from Michaels, Queen & Co bling.


